


Trying to finish Furtive Meetings in one clean run can feel brutal, even if you already know Stella Montis pretty well. The task itself isn't complicated. The problem is staying alive long enough to do every step and still extract. If you're also farming materials or checking ARC Raiders BluePrint options between raids, it's easy to get distracted, and that's usually when a run falls apart. What worked for me was treating the quest like a quiet route instead of a loot run. Move light, don't linger, and assume every busy corridor has someone watching it.
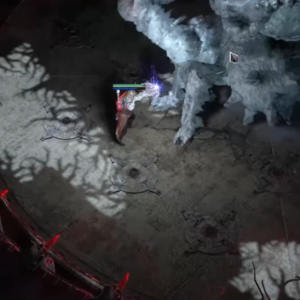
Medical Research marker
Your first stop should be the Medical Research section in the southwest part of the map. A lot of players swing through here for valuable loot, so don't sprint in like you own the place. Once you're inside, follow the long central hallway until you reach a staircase. That's the key landmark. Don't head up. Look underneath instead. You'll see white spray paint and some graffiti tucked under the steps. That's your first meeting point. Pull out the camera, take the photo, and leave straight away. No reason to hang around. If you hear movement nearby, back off and reset before peeking again.
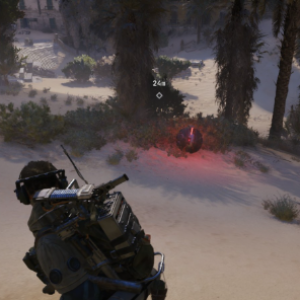
Vent corridor near Seed Vault
After that, rotate east toward the narrow connection between Robotic Sandbox B and the Seed Vault. This area catches people out because the marker is shoved into a vent-side space that doesn't stand out at first glance. Look for a cluttered corner with stacked paintings, boxes, and more graffiti. You can climb the boxes if you need a better angle, but usually a quick scan is enough. Take your second photo and keep moving. This corridor is rough. ARC units wander through, squads cross from both sides, and fights tend to drag because nobody wants to push first. If you can avoid shooting here, do it.
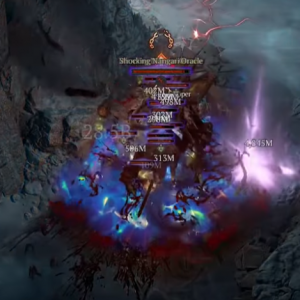
The final pickup
The last location sits at the ugly intersection linking the Cultural Archives, the Atrium, and the Seed Vault. If there's one place on this route where everything can go wrong fast, it's here. Head to the base of the staircase in the connecting hall and check for the familiar graffiti and box pile. This time, don't stop at a photo. Search the cardboard box beside the marker and grab the Secret Meeting Info. Make sure it actually lands in your inventory before you move off. Sounds obvious, but in a panic it's easy to miss. The second you've got it, start thinking about your exit path, not the next fight.
Getting out with the quest item
Extraction is where most runs die, not the objective itself. Since losing the intel means redoing the whole thing, a safe pocket augment is absolutely worth bringing if you've got one. It takes some of the sting out of a bad death. The nearest extract is often close to Seed Vault, but people know that, so expect rats, campers, or someone hearing your footsteps and setting up early. Slow down. Check corners. Let other players make noise first. If you've been saving currency for upgrades or browsing for a cheap BluePrint between attempts, this is the moment to play like it matters, because one patient extract is worth more than three reckless reruns.